

At home, step by step
How to install
your wallpaper
Good preparation, a few simple steps, and everything is ready to transform your walls.
Start by checking your wall ↓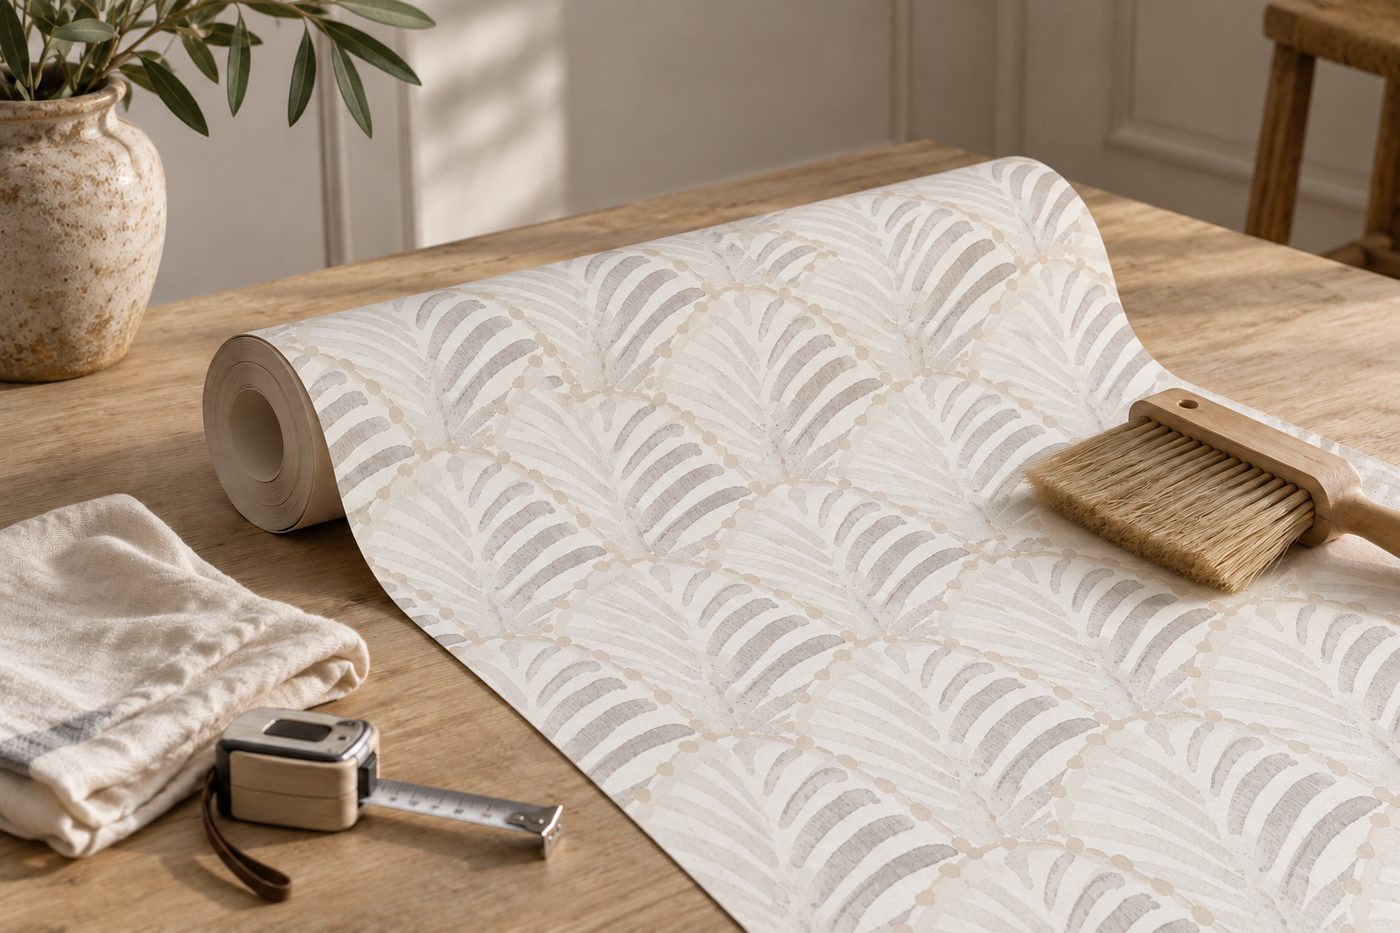
General guide for wallpapers with non-woven backing. Always consult the label and the instructions for your model; murals and special products may require a different installation method.
Before you start
A few checks now will save you surprises later.
What to check on your rolls
- Check the model, color, and that all rolls for the same wall are from the same dye lot or batch.
- Make sure you have enough wallpaper, taking into account the height, roll width, match and trimming allowance.
- Check that there is no damage or unexpected variation before cutting or pasting.
- Check the pattern direction: the way it is wound does not always indicate how it should be installed.
Keep the labels until you have finished. If anything does not match, contact us before using the material.
Understand the symbols on your roll
The label tells you how to install and care for your wallpaper. Look for the symbols on your roll: not all designs have the same properties.
Cleaning and washability

Washable · two waves
Gentle cleaning of light dirt with a damp sponge.

Super washable · three waves
Can be cleaned with a sponge and mild soapy water; this does not guarantee the removal of grease or oil.

Scrubbable
The brush with one wave indicates that it can be cleaned with a soft brush and mild soapy solution, according to the product instructions.
More washable does not mean waterproof. Avoid abrasives and always follow the model's cleaning instructions.
Match and pattern repeat

No match
No adjustment to the height of the strips is required to align the pattern.

Straight match
The motifs on adjacent strips line up at the same height.

Offset match
The next strip must be shifted vertically according to the indicated measurement.
The repeat indicates the repetition in centimeters; the symbol shows how to join the strips. View installation examples →
Installation and removal direction

Alternating installation · reverse the strips
Rotate every other strip 180°: one upward and the next downward. Only when indicated on the label.

Complete dry removal
Allows the wallpaper to be removed dry by lifting it from one corner, without wetting it beforehand.
Reaction to fire · B-s1,d0
The code B-s1,d0 indicates the reaction-to-fire classification of the wallpaper according to the European standard UNE-EN 13501-1.
If it appears in your wallpaper’s documentation, it means:
- B · Very limited contribution to fire. The material is combustible, although it contributes very little to the development of fire.
- s1 · Low smoke production. This corresponds to the most demanding level of the smoke production classes.
- d0 · No flaming droplets or particles during the conditions and period evaluated in the test.
This information is especially relevant for commercial premises, offices, hotels, and public areas. The required classification depends on the use and the regulations applicable to the project.
Check your model’s classification on its label or Declaration of Performance (DoP), together with the installation conditions. B-s1,d0 does not mean that it is non-combustible, nor is it attributed here to all wallpapers in the collection.
If you need the documentation for your project, contact us and specify the model.
Tools worth having to hand
Suitable Glue, roller or brush, utility knife with replacement blades, wallpaper spatula, cutting ruler, measuring tape, pencil, and plumb line or laser level.
Also prepare a stable ladder, a bucket of clean water, and a sponge or soft cloths. Protect the floor and clear the work area.
And, if possible, good music.
Which Glue to use and how to prepare it
For wallpapers with a non-woven backing, use an adhesive suitable for that backing and for the weight and finish of the wallpaper. Apply the Glue to the wall when indicated on the label, including for vinyl wallpapers with a non-woven backing.
We recommend ALF&mabi Glue for our compatible wallpapers. Follow the dosage, mixing instructions, and resting time on the packaging. If it is in powder form, aim for a homogeneous mixture without lumps, and do not add more water than indicated.
The wall is the key
Looking smooth does not mean it is ready for wallpapering.
Perform a simple test: lightly moisten a small area and observe how it absorbs the water. Repeat in several places, especially where there have been repairs.
The water runs off
The surface may be too sealed.
It absorbs little by little
This is the behavior we are looking for, uniformly.
It disappears immediately
The surface may absorb too much.
This check is for guidance only: it does not replace checking the wall’s firmness, cleanliness, and moisture.
How to check that the wall is in good condition
- Inspect in side light: look for cracks, bumps, stains, remnants of old wallpaper, and damaged areas.
- Wipe with a dark, dry cloth. If it picks up dust or particles, clean and check the surface's consistency.
- In an inconspicuous area, scratch gently. If layers of paint or filler come off, they need preparation.
- Press down adhesive tape and remove it. If it pulls off paint, that layer is not stable enough.
- Check absorption in several areas. If it varies greatly between patches and paint, it will need to be evened out.
- Do not wallpaper over dampness or mold. Address the cause first and check that the surface is dry; if in doubt, seek a professional assessment.
My wall has washable paint, enamel, or sealer
Some washable, satin, glossy, enamel, and primer finishes can greatly reduce absorption. They do not all behave the same: check the actual surface.
If water runs off or remains in droplets, do not wallpaper yet. It may be necessary to sand or remove the layer sealing the wall, or apply a preparation system specific to that surface. Light sanding alone does not guarantee sufficient absorption.
Remove the dust and check again. If the wall still does not absorb or you do not know what treatment it has, seek advice before installing.
When to sand, repair, or apply primer
Remove the old wallpaper and any loose layers, clean, repair irregularities, and let it dry. Sand when the condition of the surface requires it.
If the wall absorbs too much or unevenly, it may need a specific primer for wallpapering. Choose a product compatible with the surface and adhesive: an unsuitable primer can also seal it too much.
It is not necessary to paint or prime as a routine. Observe each product's drying times and repeat the checks before continuing.
After sanding: don't forget to remove the dust
Vacuum thoroughly and remove all residual dust. If necessary, wipe with a slightly damp cloth and let it dry completely. Before applying adhesive, the wall must be clean, sound, and have suitable absorption again.
Dark walls, patches, and light-colored wallpaper
For white or very light designs, prepare a light, even background. Differences in color, stains, and pencil marks can affect the finish.
If you need to even out the color, use a preparation compatible with wallpapering that maintains suitable absorption. The solution is not to apply just any white paint. Observe the drying time and check the surface again.
Understand the pattern
Check that it continues before cutting the next strips.
The repeat is the distance at which the pattern repeats. The match indicates how to align one strip with the next. You will find the instructions on the label and in the product information.
No match
No height adjustment is needed to match the pattern.
Straight match
The motifs align at the same height.
Offset match
The next strip is shifted according to the label.
How to find the pattern match without wasting wallpaper
Place two strips together, keeping the pattern's orientation. Move one vertically until the motif continues correctly at the join, and check it along the entire height.
Then calculate the cut, leaving enough margin for the ceiling and skirting board. Do not cut all the strips before checking the first join.
For free-match designs, follow the model-specific instructions. No match does not necessarily mean you can reverse the strips.
Why don't all the squares or small motifs match?
A design may appear to repeat every few centimeters and yet have a longer full repeat. In hand-drawn designs, two similar squares do not always occupy the same place within the design.
Find the pattern match by following the indicated repeat; for example, 53 cm if that is stated for your model. If the join still does not match along its full height, stop and send us photographs before continuing.
Install, step by step
Work on one strip at a time, without rushing and while the glue is still wet.
-
 01
01Measure and prepare
Leave extra at the top and bottom. Check the pattern before cutting the following strips.
-
 02
02Mark the vertical line
Use a level or plumb line to position the first strip straight.
-
 03
03Apply glue to the wall
Spread the glue evenly across the width of one strip, including the edges.
-
 04
04Position and smooth
Position it from the top and smooth gently from the center to the sides and from top to bottom.
-
 05
05Match the pattern
Match the pattern. Join the strips edge to edge, without overlapping or stretching them.
-
 06
06Trim the excess
Hold a metal spatula against the junction with the skirting board and trim with a sharp utility knife. Keep your fingers out of its path.
Throughout all the steps, immediately remove any glue residue with a soft, clean, slightly damp cloth. Do not wait until the end or rub forcefully.
Each step, in more detail
Measurements, cuts and first vertical line
Measure the height at several points. For the initial cut, leave approximately 4–5 cm extra at the top and another 4–5 cm at the bottom, adjusting to the roll's instructions and the wall's irregularities.
Mark a faint vertical line with a plumb line or laser level to guide the first strip. Do not use a corner as your only reference: it may not be straight. Avoid heavy pencil marks, especially with light-colored wallpaper.
Plan the position of the joints and the pattern before starting. If this is your first installation, start in a simple, less visible area, provided that the design and layout allow it.
How to apply the glue and hang the wallpaper
Apply glue to approximately the width of one strip, without covering too much area in advance so that it does not dry before the strip is placed. Cover the entire area, especially the edges, with the amount specified for the adhesive and wallpaper.
Position the strip from the top, leave a trimming allowance and align the edge with the vertical. Smooth gently with a tool suitable for the finish, from the center toward the sides and from top to bottom.
Do not press too hard. The glue should allow adhesion without accumulating under the covering.
Joints, repositioning and trimming
Place the strips edge to edge: side by side, without overlapping. Adjust the match by sliding the strip while the glue still allows corrections. Do not stretch the wallpaper to close a joint.
If you need to correct the position, carefully lift the strip and reposition it while the glue is still wet. Do not force wallpaper that is already drying.
Trim at the ceiling and skirting board with a cutting ruler and a very sharp utility knife. Change the blade if it starts to tear.
After the first strips, check the pattern, color and adhesion before using more rolls.
How to remove the glue without marking the wallpaper
Immediately remove any glue residue from the joints or surface with a clean, soft, slightly damp sponge or cloth, according to the wallpaper's cleaning instructions.
Do not soak or rub hard. Change the water frequently: dirty water can spread residue. Even when the glue becomes transparent, the residue may leave marks.
What about my case?
Each surface requires its own preparation.
I want to wallpaper a bathroom
Check that the model is suitable for this use. The wall must be dry, free of moisture problems and sufficiently ventilated.
Avoid areas exposed to direct or continuous water, such as inside a shower. A vinyl finish does not turn the wall into a waterproofing system.
Perform an absorption test: washable paint or enamel layers may have sealed the surface.
The wall has tiles
We do not recommend wallpapering directly over tiles without preparing the surface. They are not very absorbent, and their joints may show through.
A professional should choose a compatible system that levels the joints and creates a smooth, stable surface suitable for receiving the glue and wallpaper. Check that it is completely dry before installation.
There is textured paint, raised texture or old wallpaper
For conventional installation, the substrate must be smooth. The texture may show through and make adhesion more difficult. Remove the old wallpaper and prepare the wall.
If you are going to use a specific covering to conceal textured walls, follow the instructions for that system: this guide does not replace its specific preparation.
The wall is made of plasterboard or has just been repaired
Pay attention to the differences between the joints, filler, and the rest of the substrate. Make sure everything is dry, firm, and has uniform absorption and color.
A primer compatible with the substrate may be necessary for wallpapering. Follow the times indicated for fillers, plaster, and preparation products.
Corners, outlets, and difficult areas
Check the vertical alignment again when changing walls. Do not force a wide strip over an uneven corner; how to handle the junction depends on the substrate and the wallpaper.
Before working around outlets or switches, turn off the circuit and verify that there is no voltage. If it is necessary to remove fittings or you do not know how to do so, call a professional.
For complicated corners, openings, and junctions, check with us before cutting the material.
I have removed the wallpaper and want to wallpaper again
Check the substrate again: remove glue residue, check whether paint or filler has come loose, and allow it to dry completely.
Do not wallpaper again while there is moisture or unstable layers. Make the necessary repairs and repeat the absorption check. The waiting time depends on the actual condition of the wall.
If something is not right
We are here to help you understand what is happening.
Stop before continuing
If stains, unexpected color differences, pattern problems, or peeling appear, do not use any more rolls until the case has been reviewed.
Take photographs and keep the labels and a sample of the affected wallpaper.
CONTACT ALF&mabiWhat to send us so we can help
Tell us the order number, model, and batch. Attach an overall photo of the wall and close-ups of the issue and the label.
Tell us what paint or preparation the wall had, whether it was recently repaired, the drying times, and which glue you used, including its dilution.
If you have removed a strip, keep a sample and also photograph the reverse side and the exposed substrate. Do not discard the affected material before it has been assessed.
Stains have appeared or the wallpaper is peeling
These signs can have different causes; a photograph alone does not always make it possible to determine the origin.
Check the moisture, absorption, previous layers of paint or primer, drying times, and the adhesive used. Do not add more glue or apply treatments on top without understanding the problem. Contact us before continuing.
A good installation starts
for a good wall.