HOW TO PLACE WALLPAPER ON THE CORNERS OF WALLS?
The wallpaper is a great solution for multiple spaces in your home. Installing it is not too complicated, but there comes a point where it can be tricky. This is about the corners and edges, where you need to pay a little attention and have some skill to make it perfect.
You know that we will always help you with any topic related to wallpaper, so in this case, it was no different. Today we are going to talk about how to install our panels in these places, which we will call "corners" when the angle is formed inward and "edges" when it is formed outward.
Put wallpaper in corners
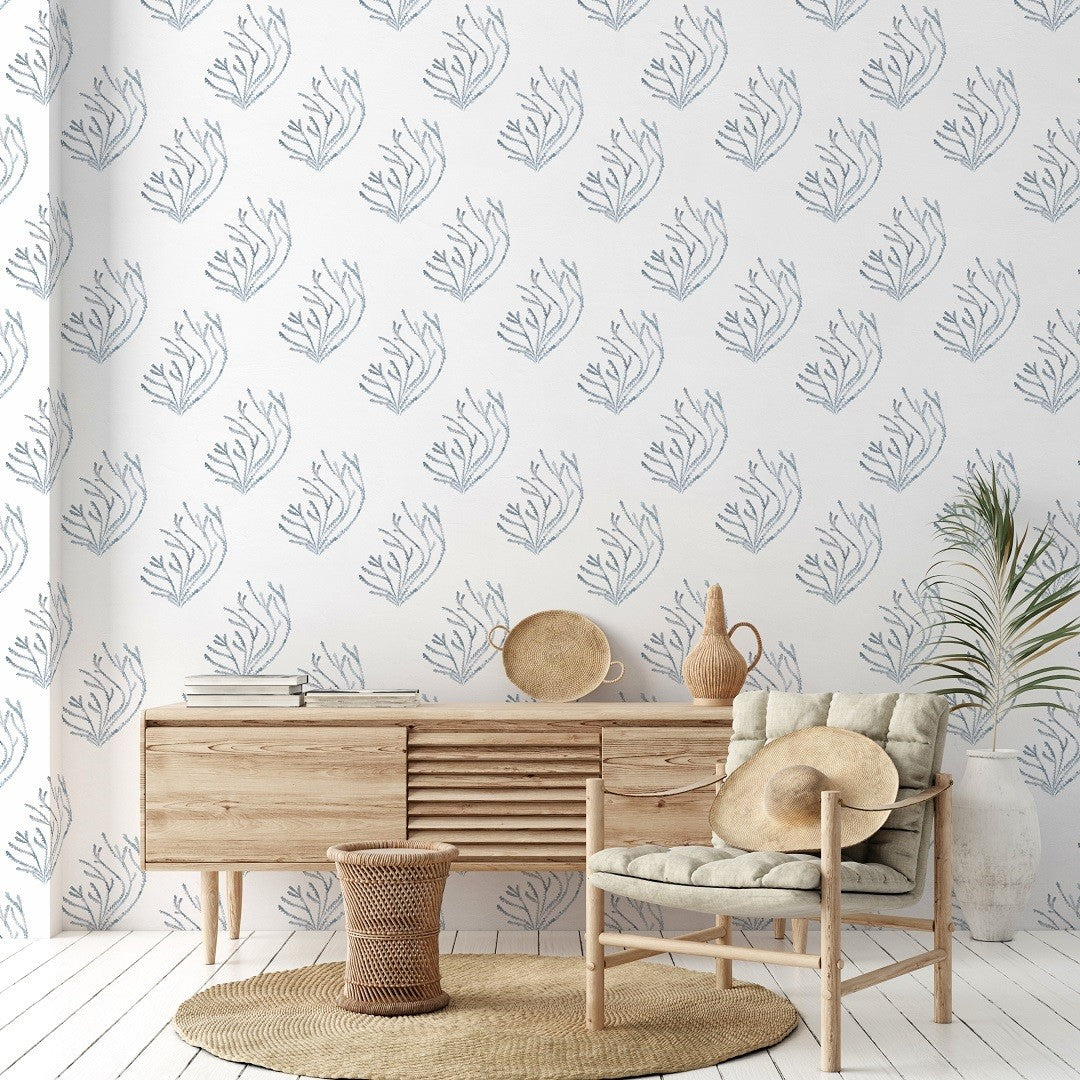
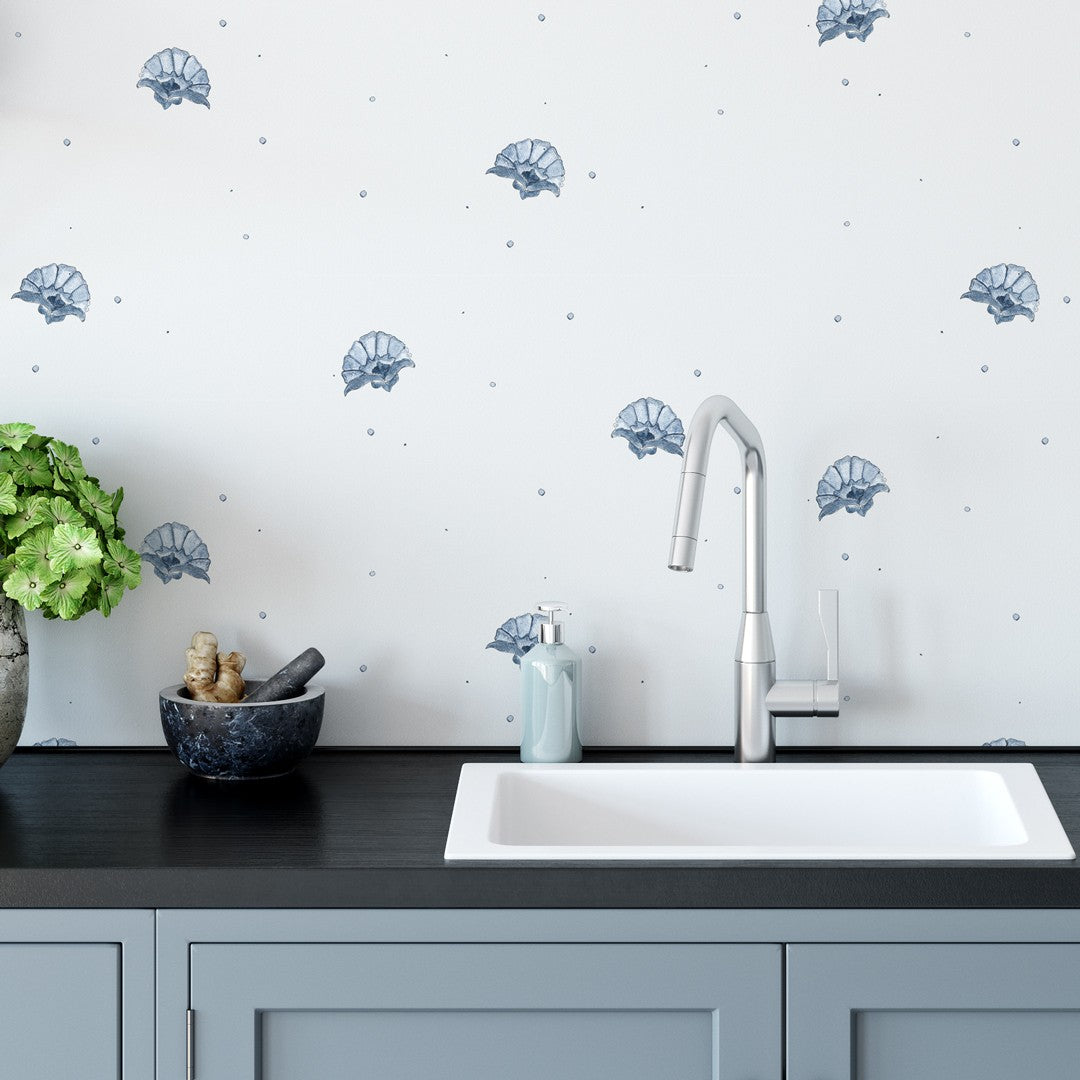
We'll start by looking at how to wallpaper the interior area of the walls. You know that you can use wallpaper in children's rooms, in your living room, or even in your kitchen; so these tips will be useful on many occasions. You should keep in mind that different types of paper may require a little more or less overlap, but we'll see that now.
The first thing you will need to do is measure the gap that you need to cover, from the last panel to the corner. Then add a couple of centimeters (or between five and eight if it is a thicker paper) and cut a new strip of wallpaper. Start placing it in the same way you have been doing up to this area.
For the crucial moment of the angle, we recommend that you use a special wide spatula for wallpaper, or even a long ruler. Press the material well so that it adheres to the corner. Then, the two excess centimeters will also be pressed against the adjacent wall, and this will be our overlap.
Now it's time to place the wallpaper on the other side, which is not too complicated if you are using a thin paper. You just need to take a strip and cover the overlap we created earlier, crossing to the other wall and perfectly aligning the patterns so that the result is aesthetic. Remember to use a level or a plumb line to ensure it is perfectly straight, as corners are not always straight.
When it comes to wallpaper, the small overlap of two centimeters on each side will not be visually noticeable. The same is not true for thick papers, which is why we recommend leaving a bit more margin and applying the technique called double cut joint.
Wallpapering corners with overlapping thick papers
When we handle heavy weight, it is interesting to opt for the double joint cut, as it creates an invisible transition from one wall to another. As we have mentioned, align the strips and place them following the pattern correctly, so as not to find any imbalances later.
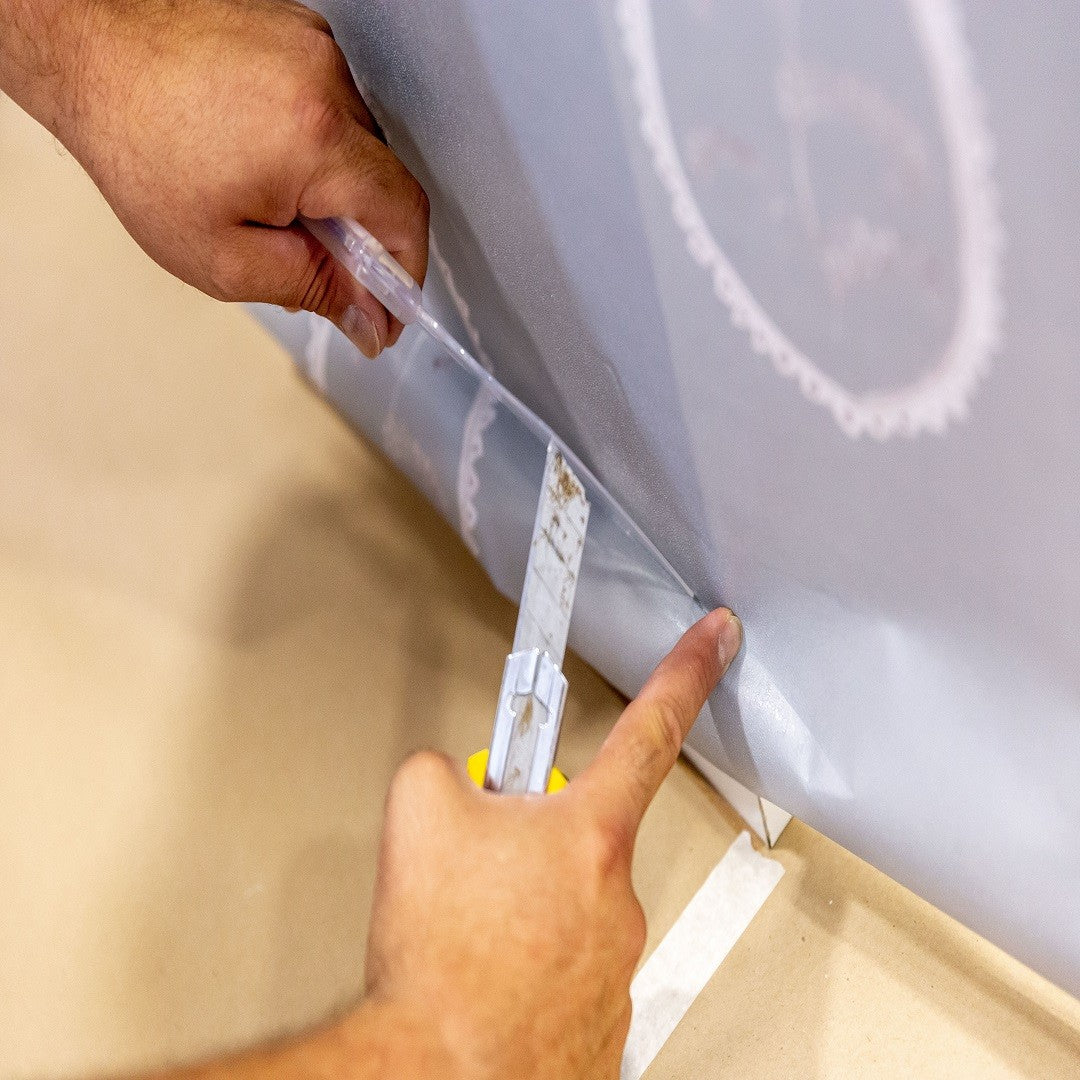
After this, you will see that the overlap is quite visible, so we need to cut that area where they overlap. Use a cutter or a blade specially designed for double joints, it will be the best tool. With a long ruler or metal profile, create a line in the corner where they intersect and use the utility knife or blade to cut, being careful not to damage the wall.

"Afterwards, you will only need to remove the strips of wallpaper from both sides of the corner, which should continue to maintain the pattern if done correctly. Remove any residue of glue or adhesive paste and it will look perfect."
Put wallpaper in the corner
When we find the angle towards the outside, you won't have too many problems if you follow the same advice as before. Make sure you keep the iron straight and arrange the patterns so they follow their course correctly.
The corners are usually straighter than the corners, so you will have an easier time aligning everything. Remember, whenever you are going to use the overlap, leave between 2 and 8 centimeters depending on the technique you use. you want to use.
In this case, the corners have greater visibility than the corners, so we recommend double cutting (especially if you already have some experience). Although thin papers will still look good and this overlap will not be noticeable, heavier papers will have an unsightly result when mounted on top of each other.