HOW TO PUT WALLPAPER AROUND OUTLETS AND SWITCHES
When it comes to placing wallpaper on a wall, we may encounter an element that prevents us from covering the entire surface completely. We are referring to outlets and switches, which can be easily worked around if you follow the tips we are going to explain to you today.
And the wallpaper is a perfect solution if you're looking to make a radical change to your home, whether in some of the bedrooms or throughout the kitchen. As we say, saving the outlets is not difficult if you know how, so from here we're going to share our tricks.
Tips for placing wallpaper with sockets
The first thing you should do when placing the wallpaper when you have outlets nearby is very simple: disconnect the power. In fact, you should always do this when you are going to work with any electrical system in your home or near them.
Not only can you touch a conductive element without realizing it and get a shock, but drops of adhesive paste or moisture itself can cause the internal circuits to have a problem. Before continuing, make sure the power is off with a voltage meter.
These devices, similar to a screwdriver, will measure the presence of current at a point and will warn you with a small light. Place the metal tip on the metal of the plug and your finger on the other end, to act as a conductor (don't worry, you won't get hurt). If the light comes on, it means that the electricity has not been turned off or that there is something residual, which may disappear in a few minutes.
When you have secured the work area, it's time to prepare the wallpaper and remove the socket and switch frames. We will work directly on the wall and then place these trims to make it perfect.
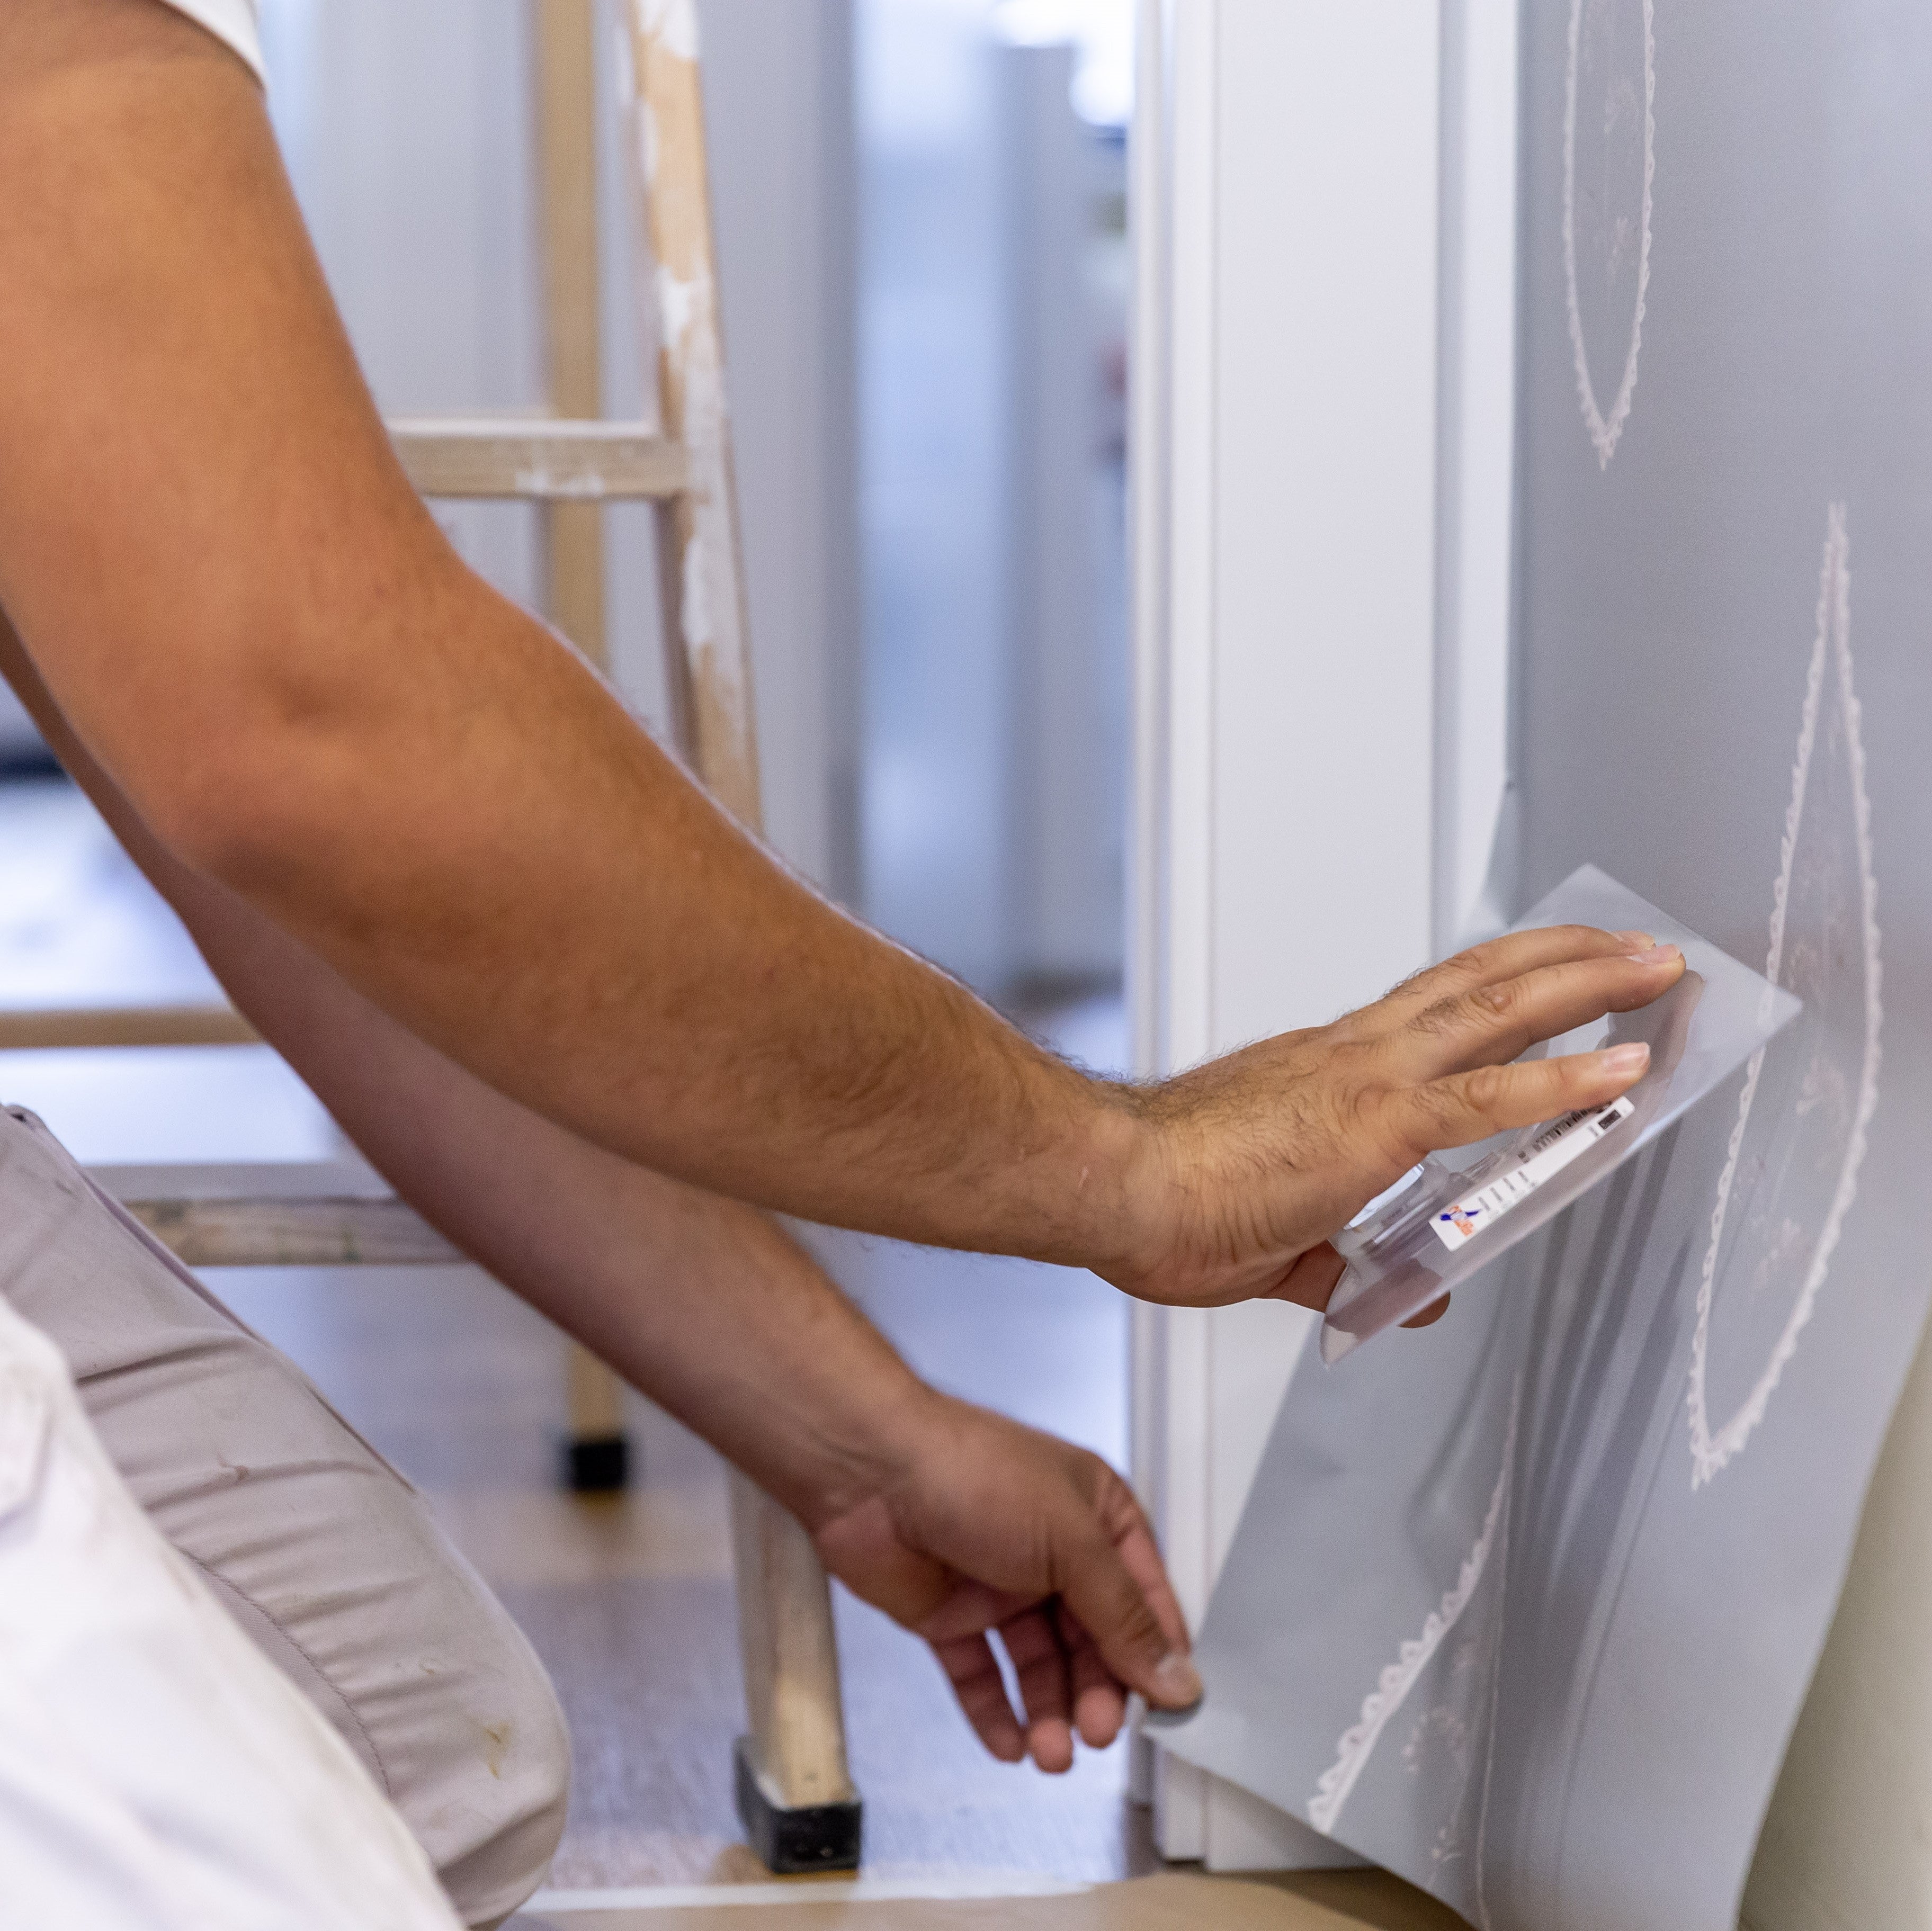
Now we will proceed to place the wallpaper in the usual way, across the entire wall, while we note where the space for the socket or switch is located. When you reach that area, brush the paper or use a roller to adhere it, always from the outside towards the switch on all four sides.

Now that you have it covered, with a blade make a cross cut in the wallpaper, from the corners of the opening for the socket or switch. This will give you the space you need to remove the excess adhesive paste and the ability to finish sticking the entire surface of the wallpaper to the wall.
Fold these triangles outward and wait for the usual and recommended drying time for the type of paper and adhesive you are using. When ready, cut these pieces without reaching the edge of the switch, always leaving a couple of millimeters for the overlap. Press the wallpaper against the edges and it will be ready.
All that remains is to replace the frames and trim before turning the power back on. Of course, we recommend that you wait at least 30 more minutes, as it is likely that there will be invisible remains of adhesive paste that are not yet dry. This way you will avoid more than one problem with the electrical current.
"We hope this system is useful for you and helps you leave the wall you want to wallpaper in perfect condition. As you can see, using wallpaper is much less complicated than you might imagine."


